As the chill of winter sets in, the garage door takes on the critical role of separating the home from the icy outdoor world. A properly winterized garage door not only keeps the cars and the stuff in the garage safe from the weather, but it also helps maintain the energy efficiency of the whole house. A garage door can have a huge impact on a home’s energy performance.
Preparing your garage door for winter means making sure it is sealed, insulated, and working smoothly to withstand the severities of winter. Yet even the best garage doors can have problems if they aren’t properly looked after. Gaps and cracks in any door can let in chilly air, and the same is true for your garage door. Cold air coming in drives your heating costs up. It can also cause issues in your garage and the living spaces right next to it. Working with a cold-intolerant garage door can lead to serious wear and tear. So take some time now to make sure your door is ready for winter.

Why Winterizing Your Garage Door Matters?
Creating a thermal barrier for your garage door is an effective way to minimize heat loss, reducing it by as much as 71% from both the top and bottom of the door. Attempting to heat a space without proper insulation is highly inefficient, especially if the garage door lacks sufficient thermal protection. By properly insulating an attached garage door, you can lower heat loss by approximately 50%, leading to noticeable energy savings and a warmer, more comfortable environment throughout the winter season.
Energy Efficiency Benefits
A properly winterized garage door maintains temperatures 12°F warmer in 20°F weather compared to non-winterized doors. Your heating system works 15-25% less when cold air can’t infiltrate through the garage door gaps. Energy bills decrease by $150-300 annually when you winter-proof garage door systems effectively.
Key efficiency improvements include:
- Reducing air infiltration through weatherstripping replacement
- Maintaining consistent garage temperatures above 40°F
- Preventing heat transfer through insulated panels
- Eliminating drafts that force furnaces to cycle more frequently
Protection Against Winter Damage
Cold temperatures cause metal components to contract and wooden doors to warp when moisture freezes. Your garage door springs lose 30% of their tension in temperatures below 0°F. Ice formation damages bottom seals and creates gaps up to 2 inches wide.
Winter damage prevention measures:
- Protecting vehicles from temperatures that drain battery life by 50%
- Preventing pipe freezing in garages with water lines
- Avoiding rust formation on metal tools and equipment
- Stopping moisture damage to stored items like fertilizers and paints
Impact on Home Comfort
An uninsulated garage door transfers cold directly to adjacent living spaces through shared walls. Your mudroom or bonus room above the garage experiences 8-10°F temperature drops when the garage isn’t winterized. Cold air infiltration forces HVAC systems to run 40% longer to maintain comfortable indoor temperatures.
- Creating stable environments for workshops and home gyms
- Reducing cold drafts in rooms adjacent to garages
- Maintaining warmer floors in rooms above garages
- Improving overall home temperature consistency by 5-7°F
How to Prepare a Garage Door For Winter
To prepare your garage door for winter, you must prepare it methodically to prevent two things: cold-weather damage and energy loss. You must do these essential tasks so that come January, your garage door will be in no way hindered from functioning in the way it should. This is the way, and these are the tasks.
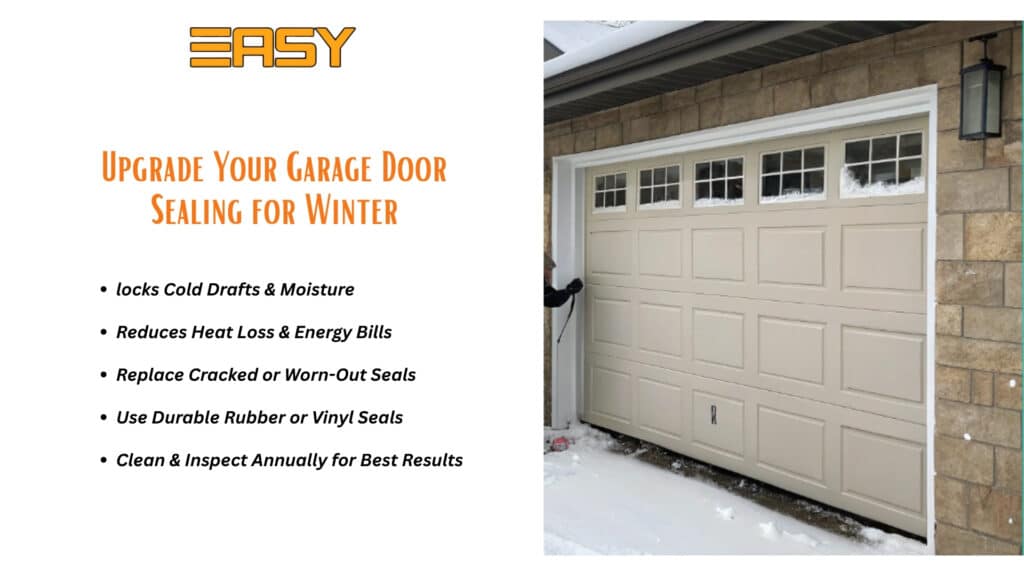
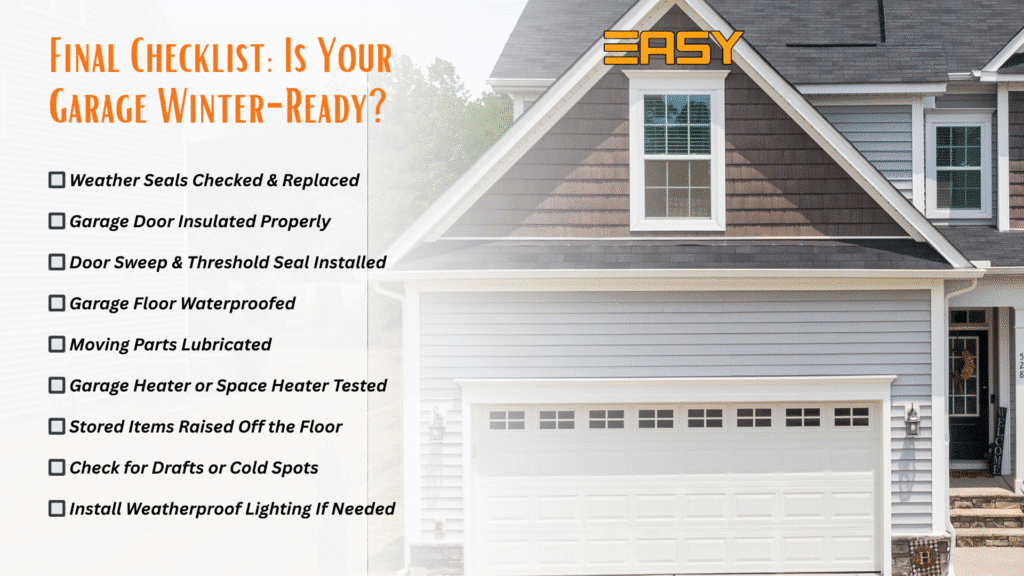
1. Check and Upgrade Weather Sealing
Seals for the weather create the main barrier that winter elements cannot cross to get into your garage. These rubber or vinyl strips are much like the snake layer ice blocks when wave molds are used to make the shapes of the ice blocks. They are far from perfect, but they do keep out quite a lot of cold air.
Types of Weather Seals:
- Bottom seals: Attach to the door’s base and prevent drafts from entering underneath
- Side seals: Install vertically along door edges to block wind and moisture
- Top seals: Position at the door’s upper edge to prevent heat escape
When you see cracks, gaps, or brittleness in weather sealing, it’s time to replace it.
- Just make sure you follow the manufacturer’s instructions. They remain flexible in cold temperatures. Align the new seal properly.
- Secure it with nails or adhesive as per the manufacturer’s instructions. Inspect seals annually for wear and tear. Clean seals with mild soap and water to prevent deterioration.
- Choose flexible materials like rubber or vinyl that can stand the cold, down to 32°F, without becoming stiff or brittle.
- Use a flat pry tool to remove the old seals and clean the surface well before you install new ones.
- Align the new seals as straight as an arrow along the door frame and hold them in place with either galvanized nails or a weather-resistant adhesive.
2. Insulate the Door for Optimal Thermal Performance
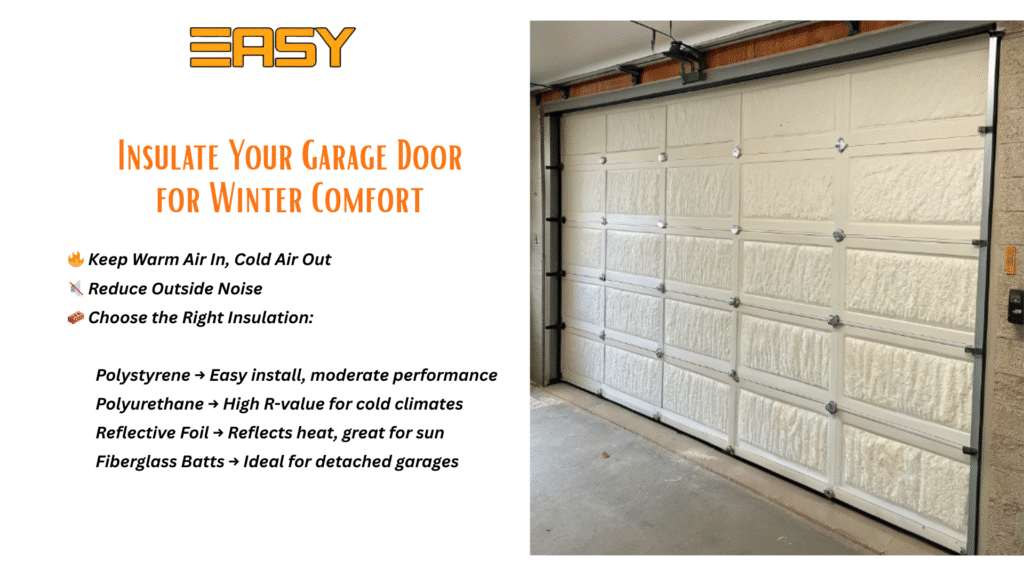
Insulating your garage door keeps it warm in winter and saves money. When the outside temperature is 20°F, the average garage door is 12°F warmer. Insulation makes a significant difference in the cost of heating your home. You can expect to save anywhere from 15-25% on your heating bills.
Insulation Options:
- Polystyrene panels: Provide R-3 to R-5 insulation value with easy DIY installation
- Polyurethane foam: Delivers R-12 to R-18 value for extreme cold protection
- Reflective foil: Offers R-4.5 value and reflects radiant heat effectively
- Fiberglass batts: Supply R-11 to R-13 value for detached garage applications
- Seal all edges with aluminum tape to make the door airtight. ms and guarantee proper insulation and safety.
- Trim sections to fit perfectly within the panel recesses without compressing the insulation.
- Take accurate measurements of each door panel before cutting the insulation material.
- Use construction adhesive or retainer clips to secure the insulation against the door panels.
3. Install a Garage Door Sweep and Threshold Seal
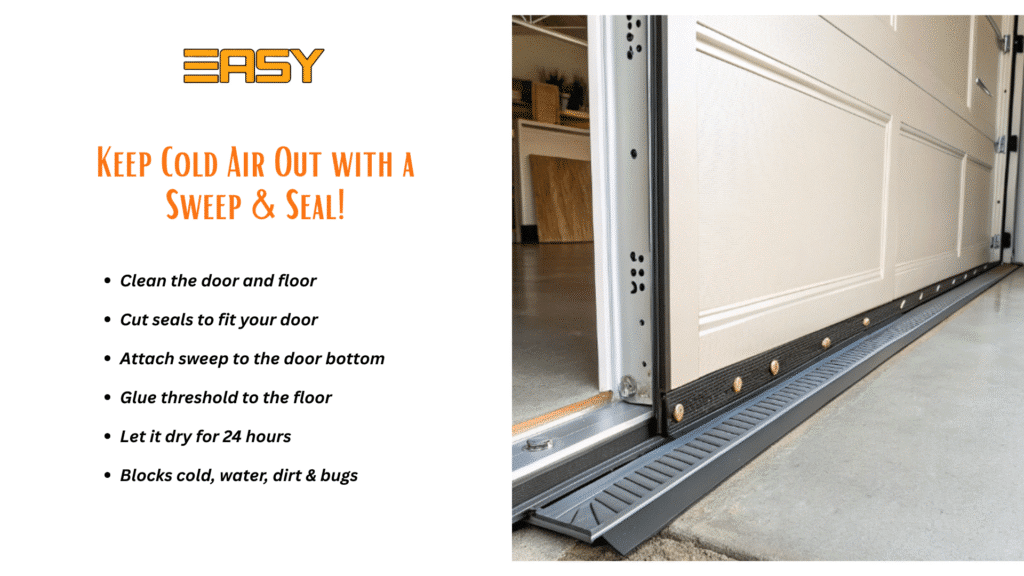
A dual barrier system blocks drafts, moisture, and pests at the garage floor level.
Block 1: Door Sweep
Install a rubber door sweep along the bottom edge of the door. The sweep should contact the floor at all points from one side of the door to the other, and it should create a flexible seal against the concrete floor.
Block 2: Threshold Seal
Add a threshold seal to the bay where the door closes. The seal should stretch along the entire width of the door and should contact the door in a way that does not impede the opening and closing of the door. The threshold seal and the door sweep together eliminate gaps.
4. Waterproof Your Garage Floor
Water from melting snow and ice gets into concrete floors. When that moisture freezes again, it expands, cracking the concrete. And then the ice-laden floor goes and does something stupid, like spall, which is to say it sheds chips and chunks of concrete as if it’s a really bad mif work. The fix for all this is straightforward: waterproof the floors.
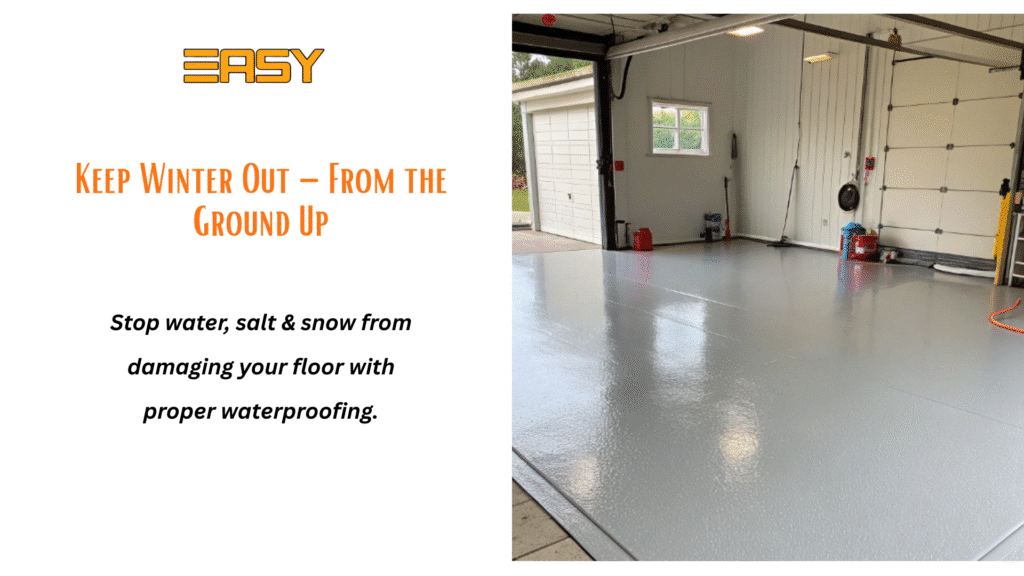
Floor Protection Methods:
- Epoxy coatings: Create chemical-resistant surfaces lasting 10-15 years with proper application
- Penetrating sealers: Absorb 1/8 inch deep into concrete for internal moisture protection
- Rubber mats: Provide instant protection with 1/4-inch thickness and anti-slip surfaces
- Install floor drains or channel systems near entry points to direct water away from storage areas. a second coat. Proper ventilation is key.
- Curing can take anywhere from 24 hours to a few days. Don’t drive on it until fully set.
- Install drainage channels near the entry in case your garage tends to flood. This allows meltwater to gradually seep into your floor.
- Clean floors to remove oil stains and debris.
- Fill cracks wider than 1/8 inch with concrete repair compound and allow 24 hours drying time.
- Apply waterproofing products in thin coats using a 3/8-inch nap roller, maintaining 50-80°F temperatures during application.
5. Seal Gaps and Cracks Around the Garage
Tiny cracks in your garage let the cold air in, and that, in turn, makes your heater work harder. Sealing those spaces could reduce heating costs by up to 15 percent. When you get done inspecting everything on this list, your garage will be airtight.
Sealing Materials:
- Exterior caulk: Fills gaps under 1/4 inch around windows and trim
- Expanding foam: Seals openings 1/4 to 3 inches around pipes and wiring
Ensure areas to be sealed are free of dust and debris.
- Use compressed air or a vacuum to make certain sealant surfaces are clean.
- For the best appearance, apply caulk in a continuous bead at a 45-degree angle.
- If you must use foam, do so carefully and in small amounts.
- Allow the foam to cure for at least a day before painting.
6. Lubricate the Metal Parts
Cold temperatures cause metal components to contract and stiffen, increasing opener strain by 30%. Lubricate springs, hinges, rollers, and tracks every 3 months during winter.
- Apply white lithium grease to springs and hinges using targeted spray nozzles.
- Use silicone-based lubricant on rollers and tracks for smooth operation at temperatures below 0°F.
- Avoid WD-40 or petroleum-based products that attract dirt and thicken in cold weather.
- Wipe excess lubricant to prevent drips on vehicles or stored items.
7. Inspect Your Garage Door Opener and Its Safety Sensors
Garage door openers work harder in winter due to increased door weight from ice and component stiffness. Test auto-reverse mechanisms by placing a 2×4 board flat on the ground where the door closes. The door must reverse within 2 seconds of contact.
- Clean safety sensor lenses with glass cleaner and soft cloths.
- Align sensors until indicator lights show solid connections.
- Tighten chain or belt tension to manufacturer specifications, typically 1/2 inch deflection at midpoint.
- Replace backup batteries annually before winter to ensure operation during power outages.
8. Replace the Remote Batteries
Cold weather reduces battery capacity by 30-50%, causing remote control failures.
- Replace all remote batteries in October before temperatures drop below 40°F.
- Use lithium batteries for better cold-weather performance compared to alkaline alternatives.
- Store spare batteries indoors where temperatures remain above 60°F to maintain full capacity.
9. Check the Moving Parts of Your Garage Door
Inspect rollers for chips, cracks, or flat spots that indicate replacement needs.
- Check cables for fraying near drum attachments where stress concentrates.
- Test spring tension by manually lifting the door halfway – it must stay in position without drifting.
- Tighten loose bolts on hinges and brackets using appropriate socket wrenches.
- Schedule a professional inspection with us if you detect unusual noises or resistance during operation. Call us at 832-570-3845.
10. Protect Your Pipes and Water Heater
Pipes in garages face freezing risk when temperatures drop below 32°F for 6 consecutive hours. Focus protection on pipes along exterior walls, near doors, and connected to washing machines or utility sinks.
How to Insulate Pipes
Foam pipe insulation tubes provide an R-3 insulation value and are installed in minutes.
- Slide pre-slit tubes over pipes and seal seams with duct tape.
- Install heat tape on pipes exposed to temperatures below 20°F, wrapping at 3-inch intervals for consistent warming.
- Cover all pipe sections, including elbows, joints, and valve bodies, where freezing commonly occurs
- Secure insulation with cable ties every 3 feet to prevent sagging.
Water Heater Winter Care
Water heaters lose 25-45% efficiency in unheated garages during winter.
- Install fiberglass blankets with an R-11 value on tanks older than 5 years, avoiding control panels and vents.
- Insulate the first 6 feet of hot water pipes, leaving the heater to reduce standby heat loss.
- Maintain garage temperatures above 40°F using portable heaters or improved door insulation to prevent tank freezing and efficiency drops.
When to Seek Professional Help
Complex garage door systems require professional expertise when winterization tasks exceed basic maintenance capabilities. Contact our technicians if you encounter structural damage, electrical malfunctions, or safety mechanism failures during your winter-proof garage door preparation.
Final Thoughts
Winterizing your garage door isn’t just another seasonal chore; it’s an investment in your home’s comfort and efficiency. By taking action now, you’ll avoid costly emergency repairs when temperatures plummet and ensure your garage remains a functional space throughout the coldest months.
Start your winterization project before the first freeze hits. Your garage door works hard year-round and deserves proper seasonal care. With these protective measures in place, you’ll have peace of mind knowing your garage is ready to face whatever winter throws its way.


