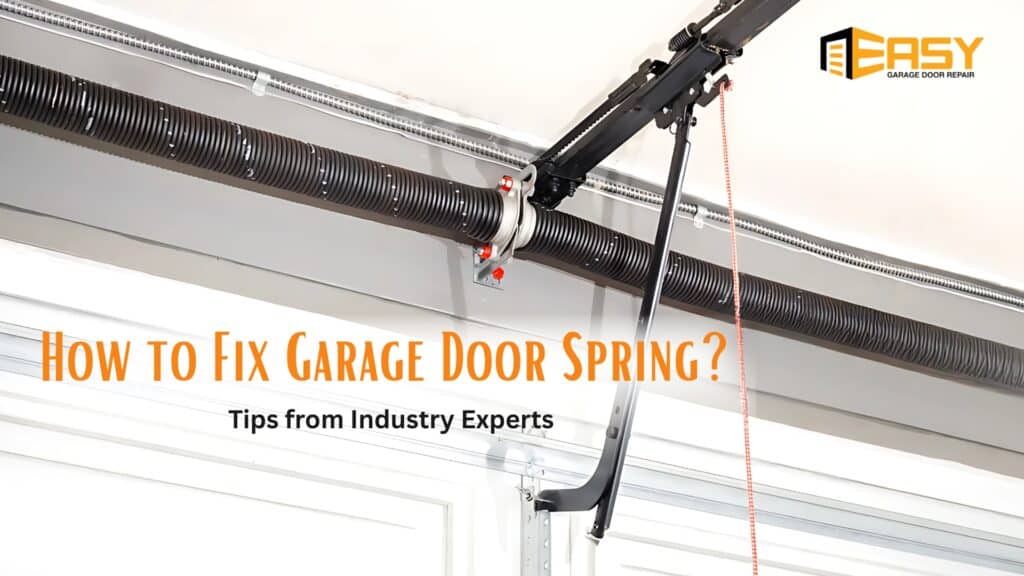
Your garage door spring can snap every 6 to 10 years without warning. A spring failure can stop the garage door system, which can disturb your daily routine. Knowing how to fix garage door spring problems is crucial, as this is the most common issue homeowners face.
Fixing damaged spring issues demands quick and smart action. A typical broken spring can cause a door to weigh over 200 lbs without support. And yet, homeowners attempt DIY garage door repair without proper safety gear or research.
That’s where injuries happen. You need to know the entire process using real expert tips from industry pros. If you’re planning to fix a garage door spring yourself or hire a pro, this guide has everything you need to make the right move. You will understand the full process and how to fix different spring types to save on long-term costs.
Top Signs Your Garage Door Spring Needs Fixing
Springs mainly control door movement, which is why they need immediate repair. Here are some less obvious but critical signs telling time for garage door spring repair.
- Loud noise similar to a gunshot, even when the door is not moving. This happens when tightly wound coils release sudden tension when a spring breaks.
- The door causes a hurdle in opening. In torsion spring systems, the weight becomes too much for the opener alone. In extension spring setups, one side may rise while the other drags.
- Any visible gap means the cracked spring and compromized support of the door.
- Spring is no longer supporting the weight when the door slams down or shoots upward. This test helps you spot any balance issues with your garage door spring.
- If your opener’s straining or just gave out, don’t blame it right away. A weak spring forces the motor to lift more weight than its capacity.
How to Fix a Garage Door Spring? Expert Tips
All garage door springs are not the same. That’s why any wrong fix gives costly damage or serious injury. So, let’s get you properly prepared.
1. Prioritize Safety Like a Pro
Research shows over 30,000 garage door injuries occur every year because of spring failures. A lot of spring injuries happen just because people use the wrong tools or skip basic safety steps. Follow these steps to protect yourself:
- Wear gloves, safety goggles, and a long-sleeved shirt.
- Use garage door spring winding bars only. Never substitute screwdrivers.
- Never stand directly in line with the spring when winding or unwinding.
- Keep children, pets, and distractions far from the workspace.
- Always unplug the opener and clamp the door manually in place before starting.
2. Know When It’s Time to Call a Pro
Not every DIY garage door repair is worth the risk. Just stop when you spot damaged cables and are unsure what to do. Here’s when to call a specialist to reduce spring repair costs in the long run:
- The spring has snapped mid-operation (loud bang, door dropped).
- You don’t know whether you’re working with a torsion spring or an extension spring.
- You don’t have the proper tools to handle cones to the center bracket or work with the holes of the winding cone.
Find a local pro who really knows torsion spring repair inside and out. Google garage door spring replacement near me and get quotes before booking.
3. Get the Right Tools Before You Begin

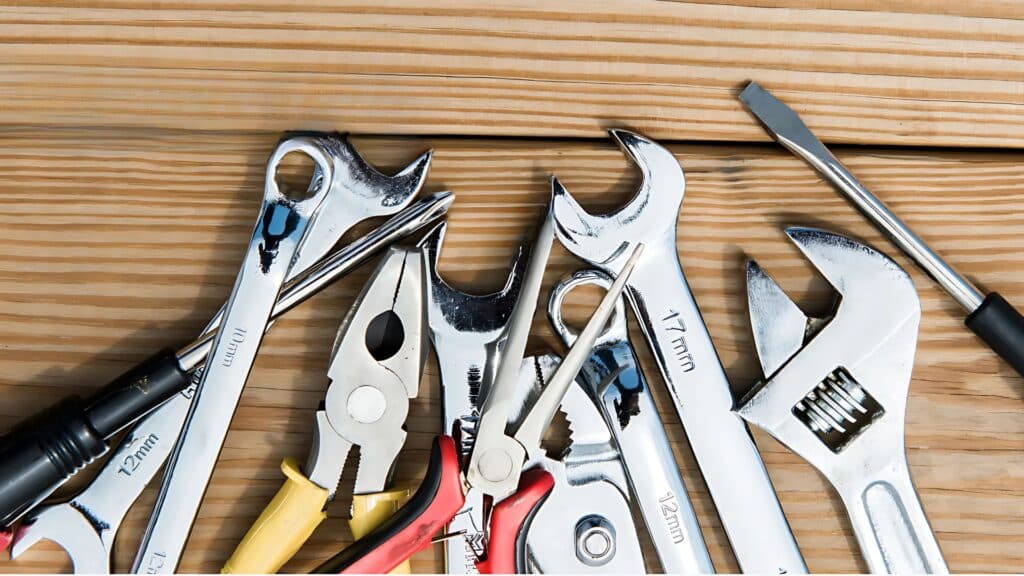
Missing the right tools is the #1 reason for botched repairs. Don’t start the job without these essentials:
| Tool | Purpose |
| Garage door spring winding bars | Safely unwind or wind the springs |
| Socket wrench set | Remove and secure cones and brackets |
| Clamps or locking pliers | Access the spring and brackets at overhead height |
| Ladder | Mark the spring position for accurate adjustment |
| Garage door spring compressors | Only for use with extension springs |
| Marker or chalk | Mark spring position for accurate adjustment |
How to Fix Garage Door Torsion Spring (Step-by-Step)
Torsion springs store mechanical energy and lift most of the garage door’s weight. These springs come in different types.
- Standard torsion springs: The most common type is placed above the garage door.
- TorqueMaster Springs: Designed by Wayne Dalton and enclosed in a tube for safety.
- Steel Rolling Door Springs: Suitable for commercial rollup doors. You can find these inside the barrel assembly of commercial roll-up doors.
Handling torsion springs involves managing parts that are under a lot of tension.
1. Disconnect the Opener & Secure the Door
- Disconnect the overhead door opener to avoid it turning on by mistake.
- Use locking pliers or clamps on both sides of the door tracks, just above one of the rollers. This ensures the door can’t move while you work.
- Even a slightly raised door can crash down with full force if not secured. Always secure the door firmly before starting
2. Unwind the Old Spring with Winding Bars
Insert a garage door spring winding bar into one of the winding cone holes. Turn the bar one-quarter turn at a time, holding it firmly as you insert the second bar into the next hole.
Alternate bars and never stand on the left-hand side of the spring while applying torque. Always stand to the side. Once unwound, loosen the set screws on the winding cone.
3. Remove and Replace the Damaged Spring
Identify a damaged or broken torsion spring by visual inspection. Signs of a failing spring include broken or uneven coils, visible gaps, and a garage door that won’t lift properly. If the door opener hums without lifting the door, it likely means the torsion spring is broken. The door may lift just 6 inches before reversing, which is another sign of a broken spring.
Complete spring breakage is the most obvious issue. It requires immediate replacement. Rust weakens the steel, causes grinding sounds, and uneven tension. If you see rough spots, replace the spring and consider coating it with a corrosion inhibitor.
Torsion springs that lose tension slowly may not snap but stretch over time. This causes your door to lift unevenly or bounce when operated.
If your door slams shut, lifts on its own, or hangs crooked when raised halfway, the spring tension is off. Perform a balance test by disconnecting the opener and lifting the door halfway. If it doesn’t stay in place, your spring needs attention.
Once you’ve identified the damaged spring, remove it as described in Step 2. Before installing a new one, you need precise measurements for proper fit and balance:
- Inside diameter (most common: 1.75″ or 2″)
- Wire size/gauge (use a spring gauge or calipers)
- Length of the relaxed spring (not stretched or compressed)
- Wind direction (left-wound or right-wound—this depends on which side of the center bracket the spring sits)
Never guess spring size. Use manufacturer data from your old spring or measure using proper tools. Wrong-sized springs are a safety hazard
Once tension is fully released, slide the broken garage door spring off the torsion tube. Measure the old spring’s wire gauge, coil diameter, and length to match specs. You can use calipers or a spring gauge to measure wire gauge, inside diameter, and length of the relaxed spring.
When replacing, upgrade to a spring rated for 20,000+ cycles for fewer repairs later. Choose a thicker wire gauge for durability in colder climates where metal contracts.
4. Install the New Spring & Rewind Tension

Double-check spring specifications before torsion spring installation. Confirm wire size (gauge), inside diameter, length (relaxed, not stretched), and wind direction.
Garage doors with two torsion springs (one on each side of the center bracket) work as a pair. If one breaks, the other is likely close to failing. Replace both springs at the same time for equal tension and avoid future imbalance.
Before placing the new spring, clean the torsion shaft (bar) with a cloth to remove rust or debris. Inspect cable drums and end bearing plates for cracks or wear. Lubricate the center bearing and end bearings lightly (not the spring coils).
A clean bar allows smoother winding and better spring movement. Debris or burrs can interfere with spring rotation and cause early failure.
Ensure the stationary cone is tight against the center bracket and secured with bolts. The winding cone must face outward and sit flush against the cable drum. Double-check to make sure you center the spring on the torsion shaft.
Only use high-quality, properly sized steel winding bars (usually 18” long, 1/2” diameter for standard cones). Avoid using screwdrivers, rods, or anything else; these can slip and cause serious injury. Always keep one winding bar inserted in the cone at all times to control spring tension during winding. Never remove both bars mid-process.
Once wound, hold the final winding bar firmly and tighten the set screws on the winding cone against the torsion shaft. Use a 6-point socket wrench (never an adjustable wrench) for proper torque.
Tighten until snug, then 1/4 turn more. Flatten one spot slightly on the torsion bar where the set screws hit. This gives them a better grip and prevents slippage over time.
Remove the clamps and slowly raise the door by hand halfway. It should stay in place without drifting up or crashing down. If not, adjust spring tension in 1/4-turn increments.
Final Safety Reminder
Garage door springs store enough energy to cause serious harm. Wear safety goggles, work gloves, and make sure kids and pets are nowhere near the area while you’re working. If anything feels uncertain, it’s always safer to call a professional. Spring installation is no place for shortcuts.
5. Reconnect & Test the System
Reconnect the garage door opener. Run 3–5 open/close cycles. Listen for garage door spring noise, clicking, or grinding. Watch for uneven movement or slow starts.
These are signs of incorrect garage door spring tension. If the door feels heavy or bounces, your spring is either under-wound or over-wound. Small tension adjustments can correct it.
How to Fix Garage Door Extension Spring (Step-by-Step)

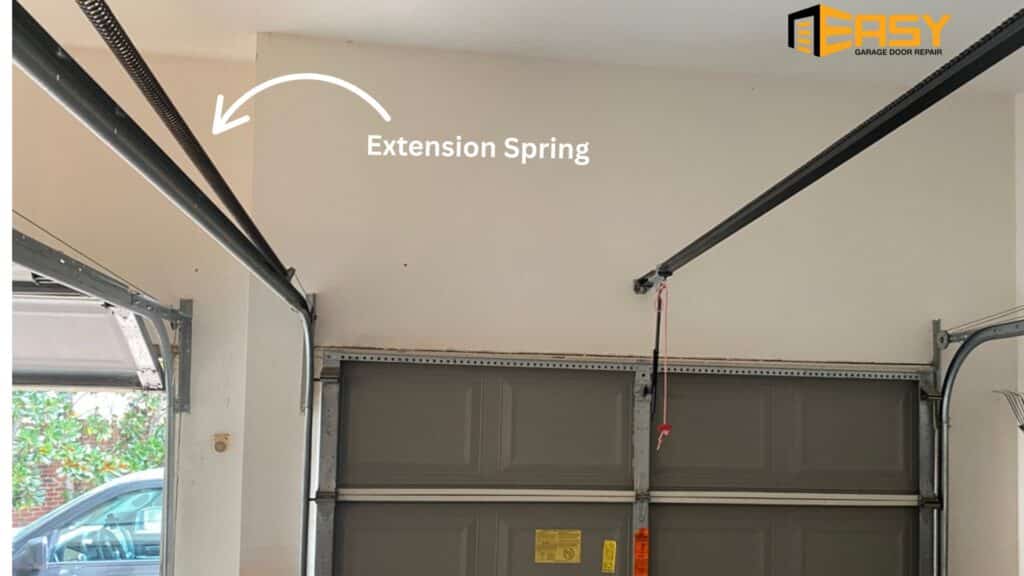
Extension springs are mostly used in lighter residential doors. They stretch and extend to counterbalance the door’s weight. Extension springs are of different types:
- Standard Extension Springs: Common in residential doors, made of high-tensile steel, and require safety cables.
- Double-Looped Extension Springs: Feature secure loops on both ends, ideal for lighter doors or tight spaces.
- Open-Looped Extension Springs: Have exposed ends for easy installation, often found in older systems.
- Commercial-Grade Extension Springs: Material used in Heavy-duty springs is steel. Such springs are ideal for high-cycle or industrial garage doors that run parallel to the horizontal tracks. Extension springs are of different types
If you’re dealing with old, unbalanced extension springs, here’s how to safely replace them.
1. Safety Prep and Tool Checklist
Start with basic preparation like unplugging the garage door opener. Clamp the tracks to hold the door in place. Release spring tension only when the door is fully open (that’s when the springs hold the least tension).
Always wear protective gear. A snapping extension spring can recoil dangerously fast. You will need the following tools in the process
- Locking pliers or C-clamps
- Socket wrench set
- Safety glasses & gloves
- Garage door spring compressors (optional but helpful)
- A tape measure and a marker for alignment
2. Releasing Spring Tension
Use pliers to detach the safety cable running through the spring. Carefully unhook the spring from the rear bracket and pulley hook. If there’s a pulley system, release the cable connected to it as well.
Tension can release suddenly. Always keep your body and face clear of the spring path.
3. Replace the Extension Spring
Measure the old spring’s length, diameter, and stretch range before installing a new one. Uneven tension will throw off the door’s balance and can cause the garage door spring uneven movement.
Opt for high-quality garage door springs with at least 10,000+ cycles. If your budget allows, go for 20,000+ cycles to increase spring lifespan and reduce future breakdowns.
4. Reattach, Adjust, and Rebalance
Install the new spring by hooking one end to the stationary bracket and the other to the pulley or S-hook. Reconnect the safety cable through the spring (never skip this—it prevents dangerous whipping if the spring fails).
Adjust the garage door spring tension by fine-tuning the cable length on both sides. Make sure both sides have the same tension. A lopsided door is a clear sign of poor balance and can ruin your opener fast.
5. Final Performance Check
Remove the track clamps and plug in your opener. Run several open/close cycles and listen for garage door spring noise or jerky movement.
If everything works fine and the door stays balanced, you’re good to go. If not, you may need to adjust cable tension or inspect for pulley issues.
Garage Door Spring Maintenance Tips
Lubricate springs and other metal parts of the door every 3–4 months. Use a high-quality garage door lubricant and apply it generously along the spring coils, and let it soak in. It reduces friction and prevents rust. Use Lithium-based or silicone-based garage door spray (avoid grease—it attracts dirt)
Perform the balance test twice a year. Rebalancing requires a trained technician. Don’t attempt adjustments without winding bars. Check for rust and corrosion.
Springs exposed to moisture (especially in coastal or humid regions) rust faster. Look for orange flakes, pitted metal, or stiff spring movement. Use a rust-resistant lubricant and keep the garage well-ventilated.
We’ve replaced springs in coastal areas after just 3 years. They rusted quickly because of poor ventilation and lack of protective coating.
Upgrade to high-cycle springs (rated for 25,000+ cycles). Opening your garage door 6 times a day means 2,190 cycles per year. A 10,000-cycle spring will last just 4.5 years under this use.
Avoid DIY spring adjustments or makeshift fixes. Never replace, adjust, or unwind springs without proper tools and training. We’ve repaired several doors damaged by “quick fixes” that ended up tripling the repair cost later.
Schedule annual professional Tune-Ups. 75% of spring-related service calls could have been avoided with early detection. A trained technician will inspect spring tension and catch minor issues before they become major failures.
Final Thoughts
Fixing a garage door spring is safe when you have the necessary tools and a deep understanding of how the system works. We tell our clients all the time, “Treat your garage door springs like your car’s brakes.” As professionals who’ve seen every type of spring failure out there, we can tell you firsthand:
The smartest move is to slow down, evaluate your situation, and don’t rush the repair.
Whether it’s selecting the right type and size of spring or applying the right amount of tension, each step matters for safety. When learning how to fix garage door spring issues, start by knowing that every problem is different. Ask yourself one thing before DIY replacing of a garage door: Can you deal with a heavy door and avoid crashing down? If you’re unsure about the tension or setup, the safest way is to replace your garage door with professional help.
If the answer is no or even “maybe”, then your best investment is in a local garage door specialist. A quiet, balanced door is your best sign that everything is working as it should. We help you keep your home secure and your garage door working the way it should every single day.


