How long does it take to install a garage door? If your garage is currently exposed, every hour of delay puts your home at safety risk. Many companies promise same-day service, but the exact installation time varies.
Many companies offer same-day service, but the exact installation time depends on multiple factors that most homeowners overlook. A professional garage door installation takes between 4 to 6 hours, depending on the complexity and type of door.
Sometimes, unexpected structural issues (that weren’t addressed during the initial estimate) can cause a delay in the installation process. This guide gives a clear estimate of average installation times so you stay ahead of time and budget surprises.
Key Factors That Affect Garage Door Installation Time
Several elements, such as garage door type and the skill level of the installer, decide the installation duration.
Type of Garage Door
The type of door you choose plays a major role in installation time. A basic single garage door typically takes 3 to 4 hours to install. A double garage door requires 4 to 6 hours, while custom or heavy doors may take 6+ hours.
- Roll-up doors are usually faster to install. The panels roll into a coil above the opening, so there’s no need for extensive track work. On average, roll-up doors can be fitted in about 3–4 hours.
- Sectional doors require precise alignment of tracks, panels, and springs. Time varies between 4–6 hours, depending on size.
- Tilt-up doors swing out and up as one solid panel. They seem simple, but the balance and counterweight setup can be tricky. Expect around 4 hours.
- Custom doors (Wood or Glass) take the longest time. Heavy wood or glass doors require additional reinforcements and even framing adjustments. Some custom doors can take 6–8 hours or more.
Condition of the Frame and Opening
A perfectly square frame saves hours. But that’s rarely the case in older homes. Installation duration increases if your garage opening is warped or cracked. Reframing of damaged frames can add 1–3 hours, depending on the extent of the damage.
Professional vs. DIY Installation
Hiring a professional garage door service provider significantly shortens the timeline. Professional installers complete a standard project within an hour. On the other hand, DIY installations can take 6 to 10+ hours, even with good skills and tools. Experts easily handle the high-tension spring and heavy doors. One wrong move with a torsion spring in a DIY installation can cause injury and major system failure.
Steps Involved in Garage Door Installation

1. Removing the Old Door
Taking down the old garage door is the very first step and is more time-consuming than most expect. It won’t come down easily when it has rusted hinges, bent tracks, or stripped bolts. On average, removal takes 1 to 2 hours. It will stretch longer if the installer has to cut parts or deal with outdated systems.
Installers start by disabling the high-tension spring system. They know how to decompress them safely. This step needs careful handling. Removal goes faster if the door is in decent condition. But rusted or damaged parts slow things down.
2. Preparing the Opening
The frame must be level and solid before starting the new door installation. At this stage, the installer checks for:
- Rotted or cracked wood
- Uneven flooring
- Obstructions like conduit or wall brackets
Any frame repair or reinforcement happens here. If the opening is not square or plumb, the door won’t move correctly.
3. Installing Door Panels or Sections

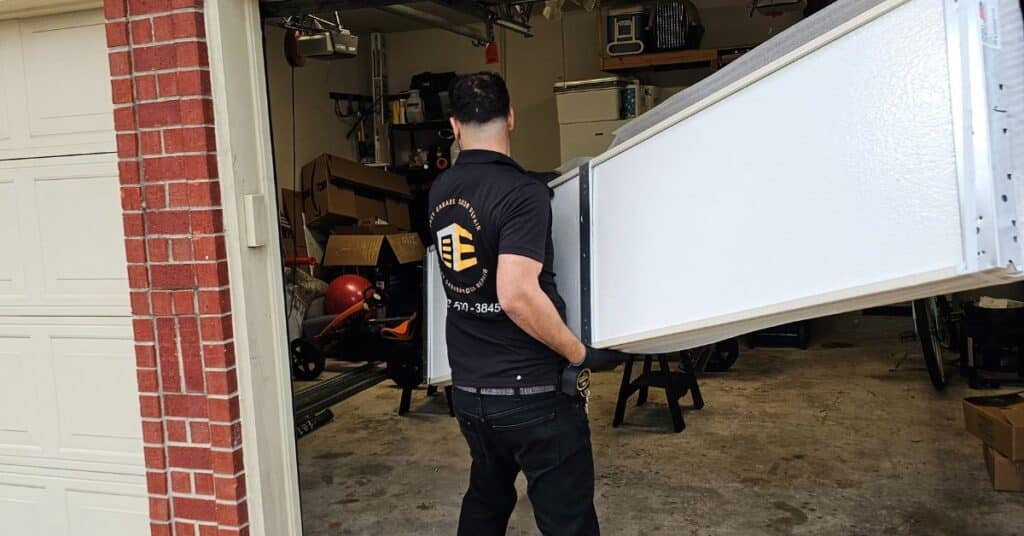
Next comes the main part, installing the actual door. This step varies depending on whether you have a sectional, tilt-up, or custom panel. For sectional doors, installers begin with the bottom panel and work upward for precise alignment of each piece.
Misaligned panels cause track jams and uneven wear. Each panel needs rollers, hinges, and weather seals. This is where precision matters most. Ask your installer about insulated panels if you live in a hot or cold climate. They save energy and reduce noise.
4. Attaching Hardware and Tracks
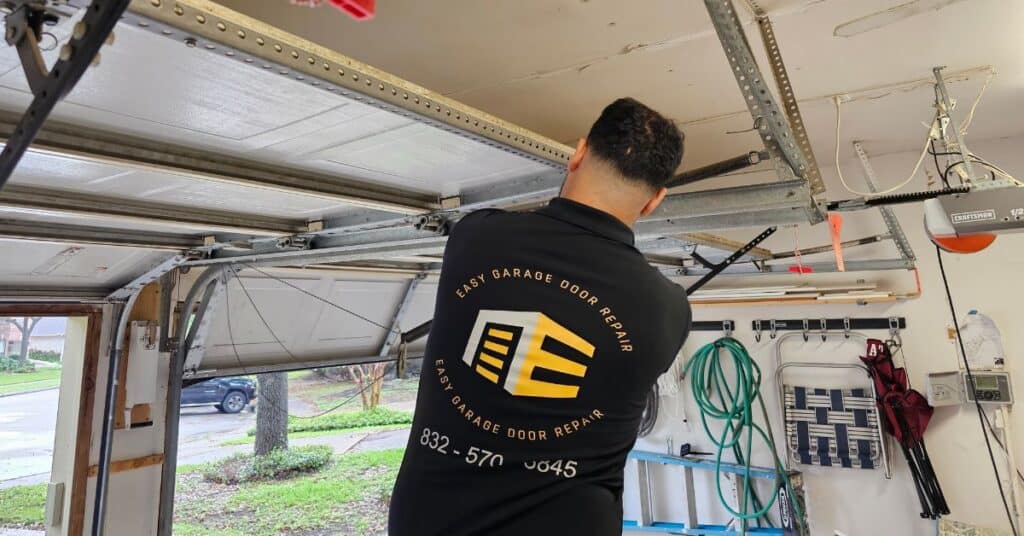
The installer mounts the vertical and horizontal tracks, plus all supporting brackets. Then, the next step is installing the spring system, which is a critical part of the job. If the tracks aren’t aligned correctly, the door may jam or even fall off.
Even experienced DIYers underestimate how dangerous spring handling can be. Professional installers use special tools to wind these springs safely.
5. Installing the Garage Door Opener

If a new opener is part of the job, this adds an extra 1 to 2 hours. The opener must align with the door center and the ceiling joists. The process requires mounting the motor, wiring the power source, setting up remote connectivity, and adjusting safety sensors. The opener installation process also depends on the type of opener (belt, chain, or smart Wi-Fi-enabled).
Smart openers might take longer if they require Wi-Fi setup or firmware updates. Choose an opener that matches your door weight. A heavy wood or double door needs a ¾ or 1 HP motor, not the standard ½ HP. Find the compatible garage door openers for your garage door.
6. Testing and Calibration
The door may need slight adjustments, such as tightening springs or adjusting cable tension. Installers test the door for smooth movement and accurate balance. They check whether:
- The door opens and closes smoothly
- It doesn’t sag, catch, or pull
- The opener stops and reverses on contact
- The remotes and wall buttons respond correctly
Upon the completion of the door installation process, installers do a safety walkthrough. They ensure that bolts are tight, sensors are working safely. Then they clear away any packaging or old parts.

Many pros leave a maintenance checklist or sticker with contact info and the next recommended service date. Ask the installer to show you how to manually open the door in case of a power failure. This quick lesson can be a lifesaver during outages.
Final Words
Installing a garage door isn’t just about fitting panels into a frame. It’s about precisely aligning load-bearing tracks, testing sensors, tuning torsion springs under intense pressure, and more. The right team, clear communication, and realistic prep can speed up the process. These directly impact safety and long-term door performance.
The Easy Garage Door Repair team fine-tunes every detail to protect your home and family. Our certified team finishes most installations in hours without cutting corners. If you’re looking for a garage door installation in Houston or nearby areas, call us today for a quote.


